

I probably should have waited to post this until AFTER I've given them as my homemade gifts for my husband's side of the family. That would have been the best thing, but I was so excited to share them with you, I just decided to go ahead and do it!
I'm excited about them because I think that many of you will come up with all kinds of ways to use this same idea. Maybe you have already done something like this yourself. It would make a neat gift for anyone and can be personalized in any way.
This idea came to me while in Hobby Lobby. I walked up and down aisles, looking for neat things that would be good for homemade gifts. My sister had suggested decoupaging on ceramic tiles for coasters. I liked that idea, but wasn't sure I wanted it to be coasters. That's when I spotted these mini canvases. They come in a packed of two and are about a 2.5 inch square. The day I got them they were 30% off, which was even better.
Directions:

Paint canvases in desired color using a small foam brush. Allow to dry.
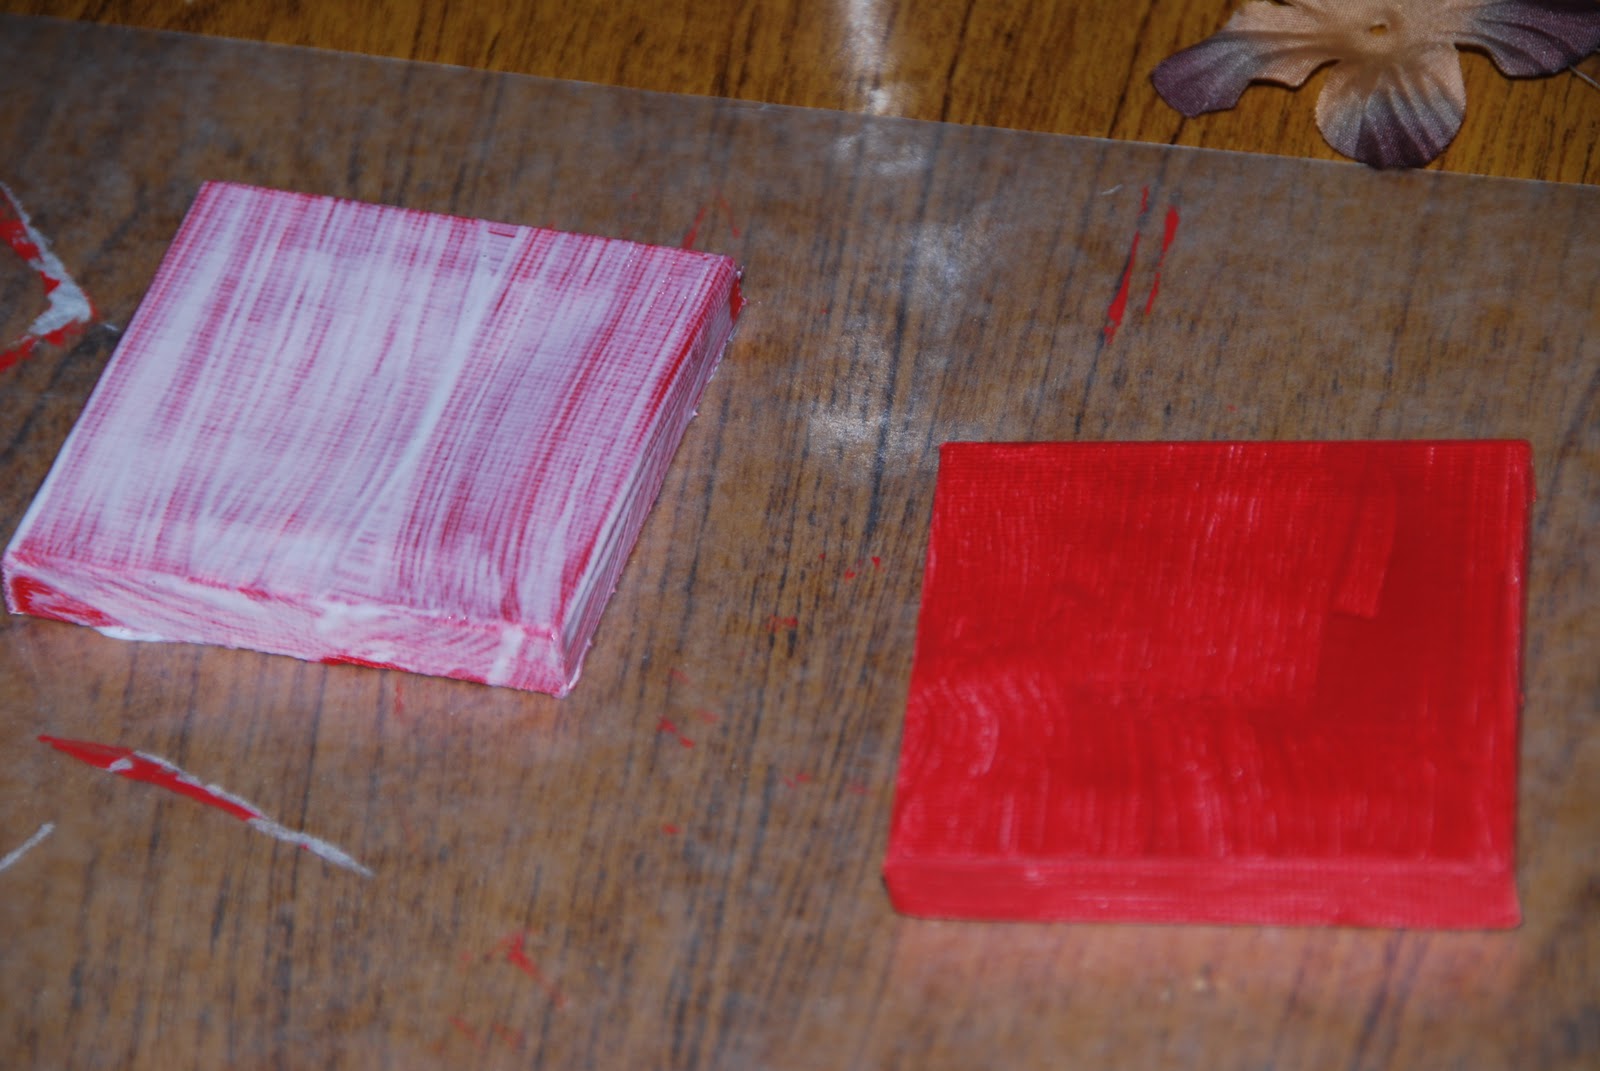
Paint Modge Podge all over canvas.

While still wet, place paper square on top. (I cut some straight edge and tore some to be ragged. Paper should be slightly smaller than canvas.) Press paper down and smooth out any bubbles. Allow to dry a few minutes, then gently smooth again.

After the first Modge Podge coat dries a little and the bumps are mostly smooth, paint on more Modge Podge on top of the decorative paper.

Print out phrases, scriptures, names, initials, etc. onto vellum in desired font and print color. Some of my vellum was thicker than others. I also varied the colors of the vellum some. Make sure to make this part a little big smaller than the printed paper size.

Press vellum piece on slightly wet Modge Podge or if too dry, Modge Podge the back of the vellum very lightly (or a glue stick will work - used lightly). Stick verse on desired area. Allow to dry a few minutes.

Use desired accessories to decorate your canvas. I chose silk flowers that are made for scrap booking and also used metal brads in decorative shapes, textures, and colors. Decide where you want to place the flowers. Some canvases I made with the verse....some without.


Apply magnet or two to the back of the canvases. I used stick on magnets and decided to use two per canvas, even though this picture doesn't show it.

And, there you are....mini canvas magnets! Perfect for handmade gifts at Christmas and any other time of the year. And, the best part is that they are very inexpensive to make. All of the items can be purchased at 30 - 50 % off at Hobby Lobby.

What handmade Christmas gifts are you making this year?


2 comments:
So cute!!! I think I can actually make these since you showed them step by step!! Thanks!!
You're welcome! I hope you enjoy making them. Lori
Post a Comment